Magic Crystal Butterfly
Growing crystals is always a science activity my kids love. Combine crystals with their love of butterflies and we get a magic crystal butterfly – a winning science activity!
And speaking of winning science activities, check out our 30 Science Experiments in our shop that are kid-approved and tons of fun!
This post contains Amazon affiliate links.
Getting Ready
The first thing we needed to do was find a piece of thin cardboard. The cardboard sheet at the back of one of our legal pads was perfect.
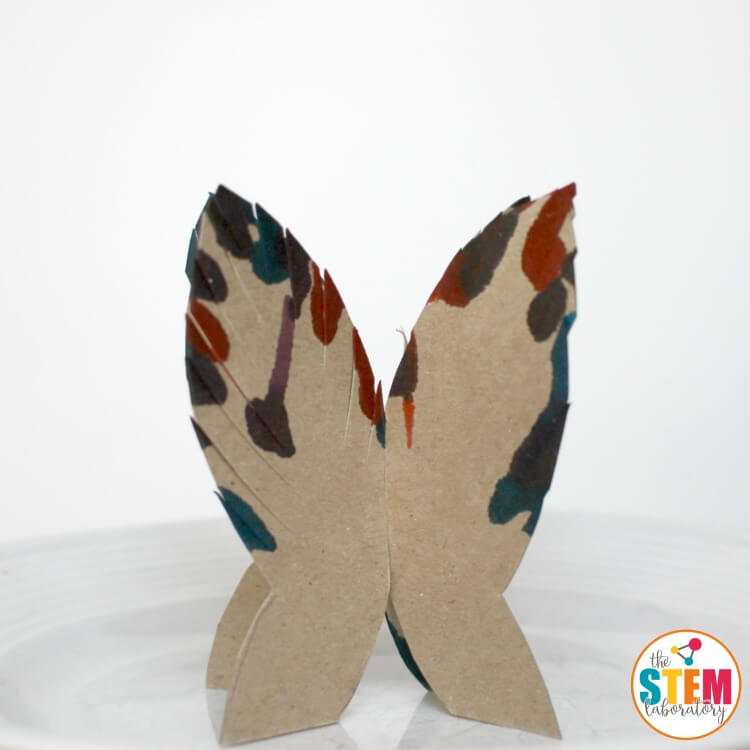
The kids and I cut out a butterfly shape that measured about 3 inches wide and 4 inches tall. Then, similarly, we used our first cutout to trace another identical butterfly shape and cut that one out as well.
We made a slit on the top of one butterfly and the bottom of the other butterfly so that they slid together and stood up.

The kids helped me cut several slits along the butterfly wings. This was an optional step, but it would provide more surface area for crystals to grow on later.
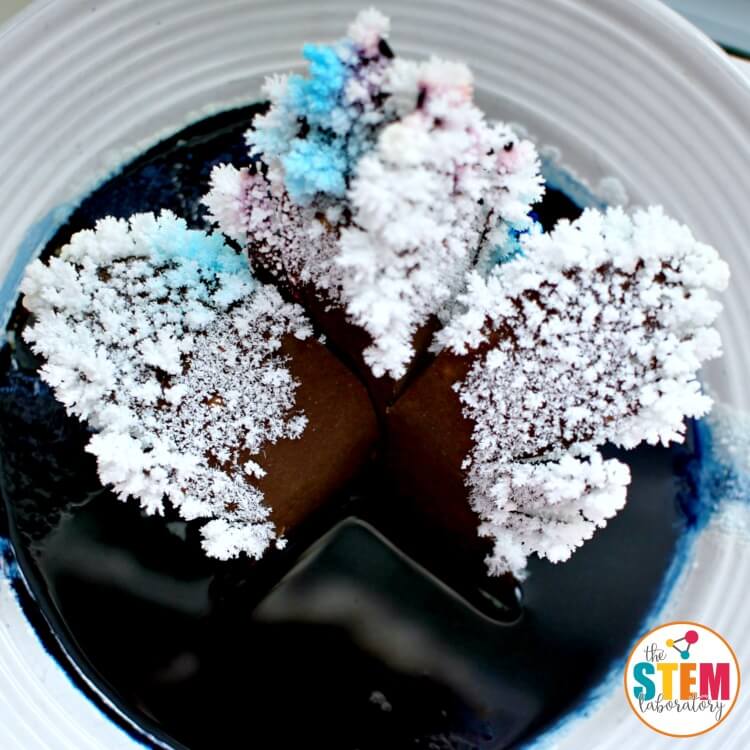
We dribbled blue, purple and pink food coloring along the edges of the butterfly and set our 3-D butterfly up in the center of a flat plate.
Next, we gathered some household materials and mixed them all together:
- 2 Tbsp. table salt
- 2 Tbsp. hot water
- 2 Tbsp. Mrs. Stewart’s Bluing (often found in the laundry aisle of your grocery store)
- 1 Tbsp. ammonia
My kids carefully poured the salt mixture into the bottom of the dish and set it in a place where it wouldn’t be disturbed.
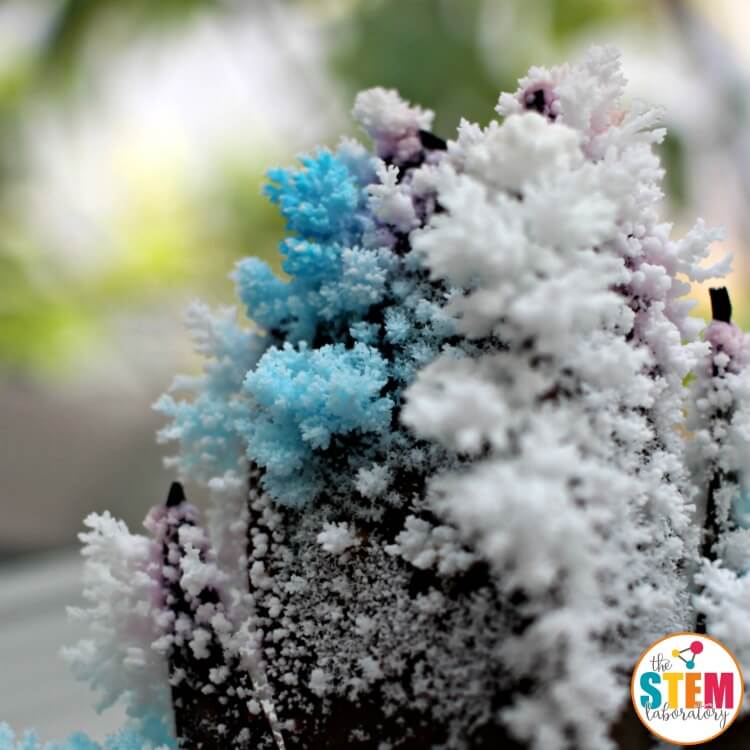
Meanwhile, we waited. Within just a few hours, we could start to see crystals forming on the edges of our butterfly.
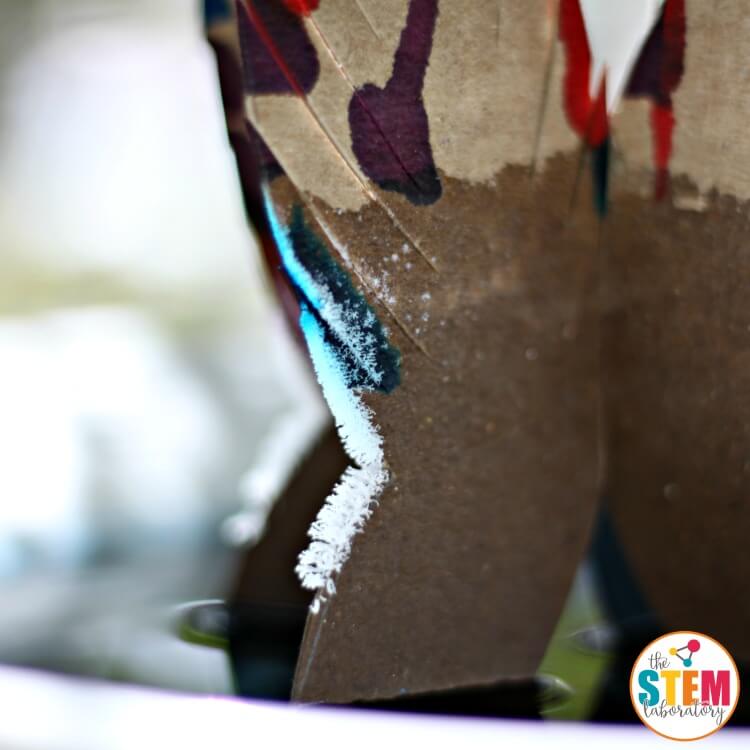
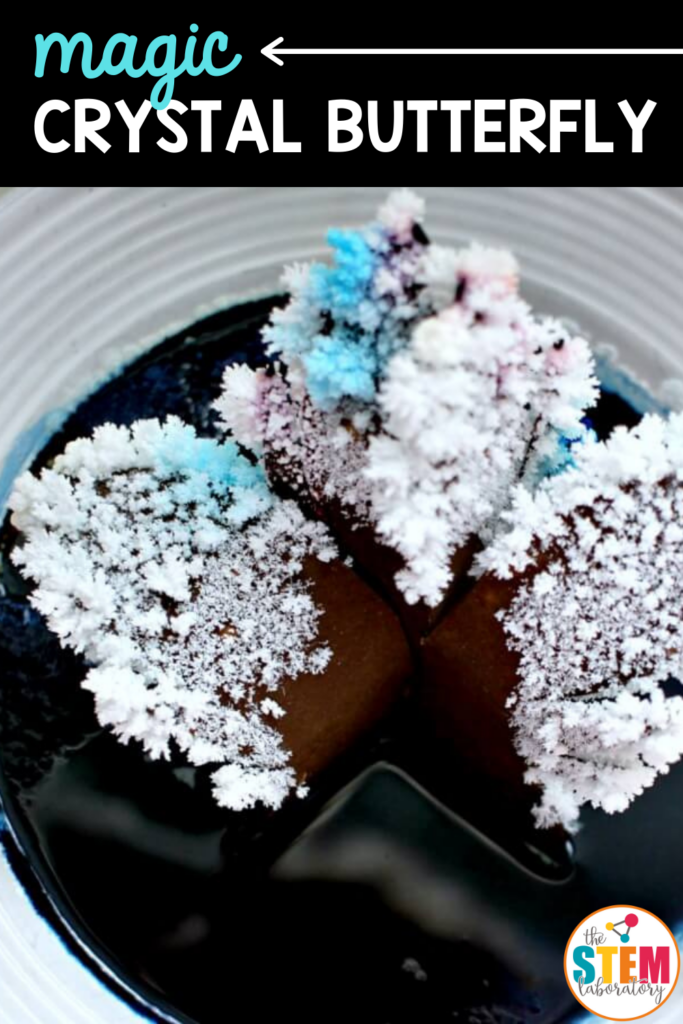
In a day or two, it was heavy with multi-colored salt crystals!
Hint: If you find after a few days that your crystals aren’t growing or that they are growing slowly, try placing your butterfly in an area with better air flow. Once we turned on our ceiling fan, the crystals REALLY began to grow! And if you want more crystals, simply mix up more of the salt mixture above and add it to the dish.
The Science of the Magic Crystal Butterfly
There are a few different things that are happening to make the crystal butterfly grow.
First, the salt solution moves up the cardboard by capillary action. This is the same force that helps trees get water from the ground all the way up to their tallest branches.
Next, the water evaporates, leaving salt on the surface of the carboard butterfly to crystallize. Additionally, the ammonia helps speed up the evaporation process.
The reason Mrs. Stewart’s Bluing is necessary is because it is a colloid – a solution containing tiny particles suspended in water. These particles make it easier for the salt crystals to form.
More Jaw-Dropping Science
Continue the fun with our 30 Science Experiments for kids – plus a no prep science journal to keep track of their results!