Glowing Bouncy Egg Experiment
What if I told you that you could make an egg glow in the dark AND bounce like a ball—all with just a few simple ingredients? Sounds like magic, right? Well, it’s actually science! This Glowing Bouncy Egg Experiment is packed with crazy-cool chemical reactions, mind-blowing discoveries, and just the right amount of mess to keep kids completely engaged.
So, grab an egg, some vinegar, and let’s dive into this awesome hands-on science experiment!
What You’ll Need to Create a Glowing Bouncy Egg
No fancy lab equipment needed! Just a few everyday items:
- A raw egg – Yep, just a regular egg from the fridge!
- A clear glass or jar – Big enough to hold the egg and liquid.
- White vinegar – This is where the science magic happens!
- A highlighter – Pick a bright color that glows under blacklight. Yellow works great!
- A blacklight – To make your egg shine in the dark.
- Gloves – Because we’re about to get a little messy!
How to Make a Glowing Bouncy Egg
Step 1: Get That Glowing Effect Ready
Put on your gloves, crack open a highlighter (not literally), and pull out the ink tube inside. Drop it in a little water and watch as the liquid turns into a neon, glow-in-the-dark potion!
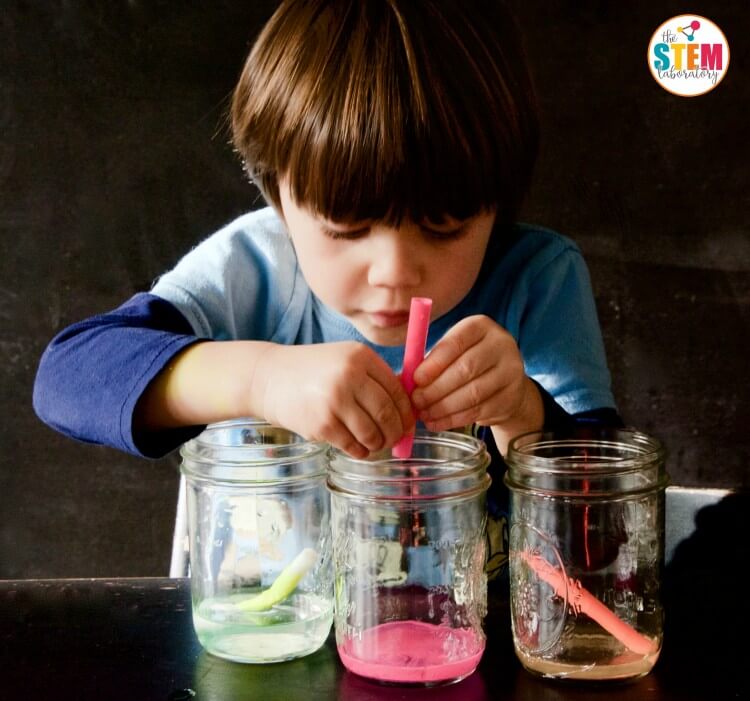
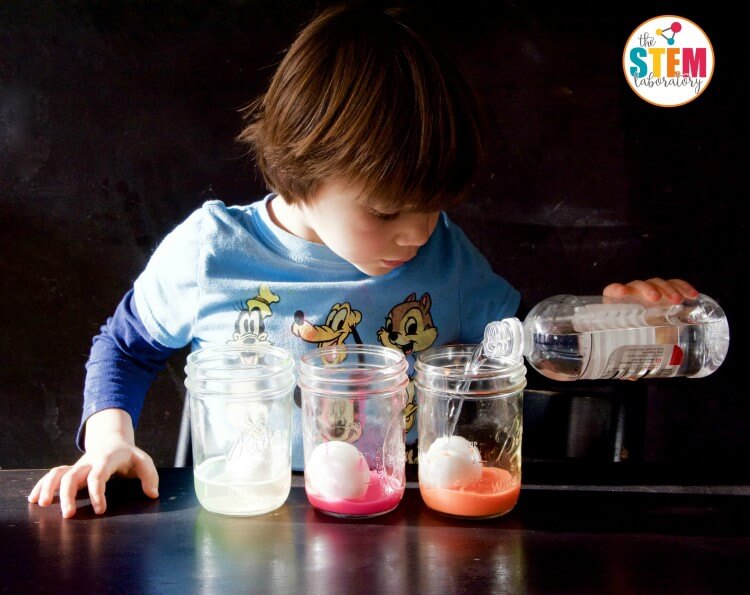
Step 2: Create the Magic Potion
Fill your glass or jar with vinegar—enough to completely cover the egg. Now, pour in your glowing highlighter water and mix it up.
Step 3: The Transformation Begins
Gently place your raw egg into the vinegar. Get ready for some science action! You’ll see tiny bubbles form on the eggshell almost immediately. That’s the vinegar starting to break down the shell!
Step 4: The Waiting Game
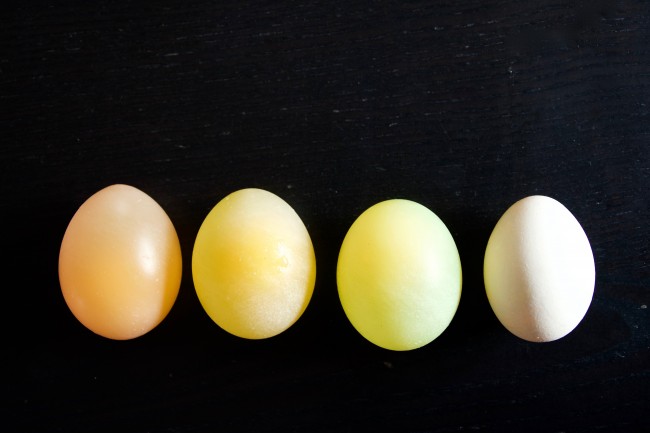
Now comes the hardest part… waiting! Let the egg sit in the glowing vinegar bath for 48 hours. Each day, check in on it. You’ll notice the shell disappearing, leaving behind a squishy, see-through membrane.
Step 5: Time for the Big Reveal!
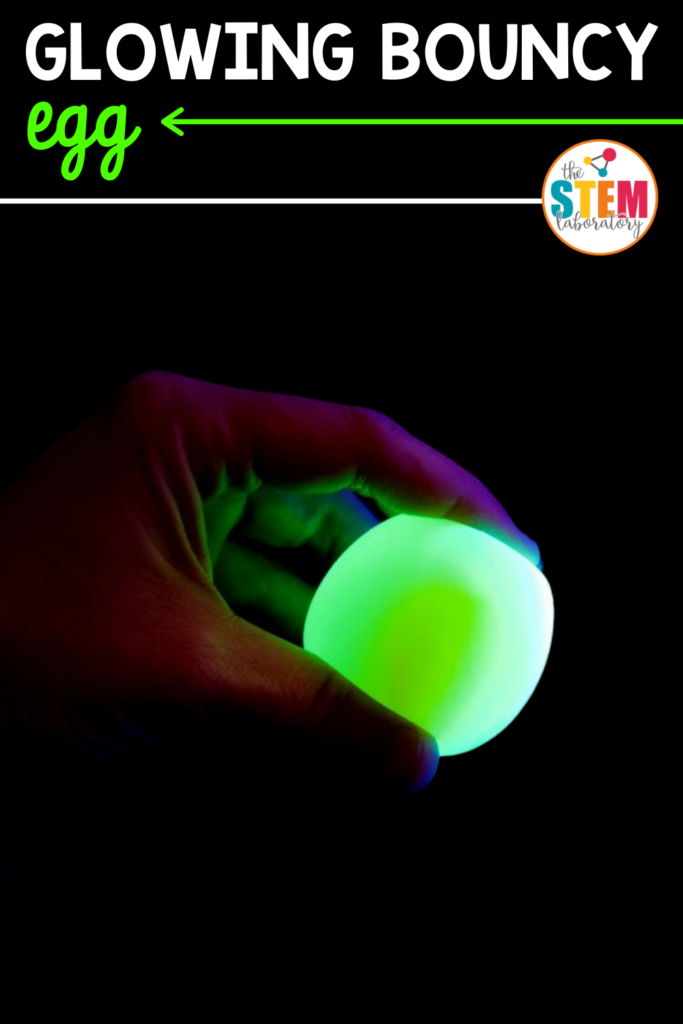
After two days, carefully take out the egg and rinse it under water. Say goodbye to the eggshell! What’s left is a soft, bouncy egg with a stretchy membrane.
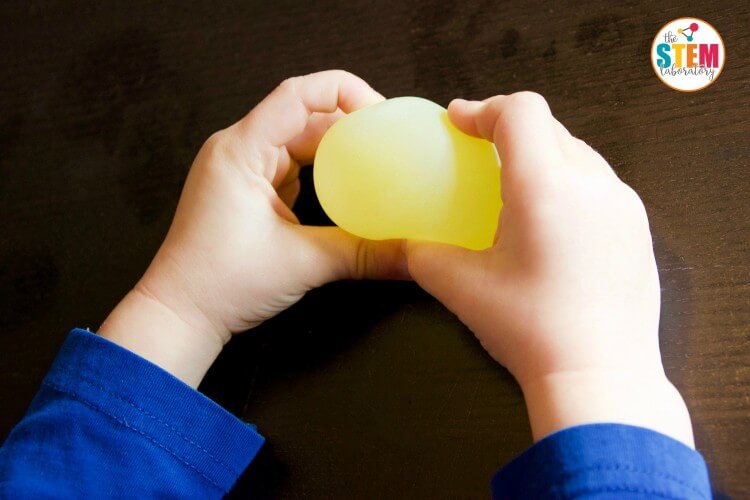
Step 6: Bounce It!
Hold the egg a few inches above a table and let it drop. It bounces! Try it a little higher… but not too high—unless you want to see a glowing egg explosion!
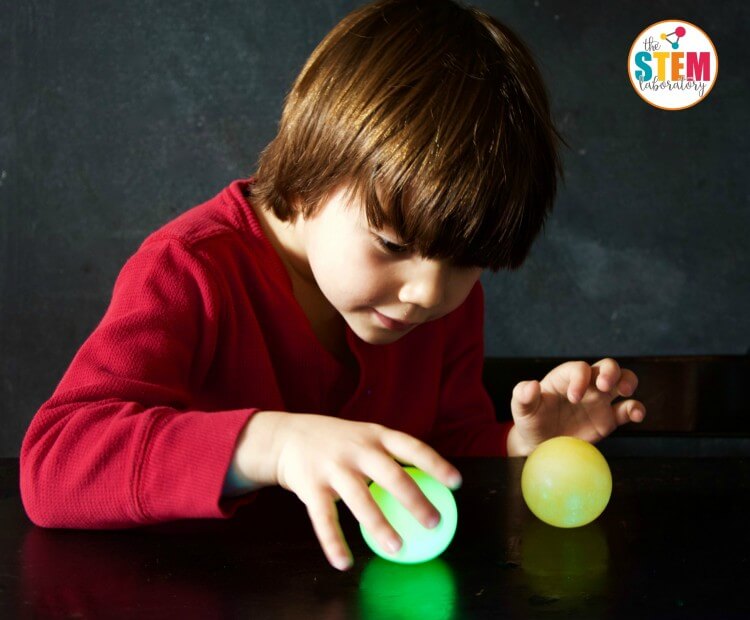
Step 7: Lights Off, Blacklight On!
Now for the coolest part: Turn off the lights and shine a blacklight on your egg. Watch in amazement as it glows like a science fiction experiment!
Pro Tip:
Pink and orange highlighters don’t make the eggs glow brightly. Yellow highlighters work best.
Be careful when bouncing the eggs! While they are stretchy and squishy, they will break if thrown too hard. Students can try dropping them from different heights to see how high they can bounce before bursting.

The Science Behind It
This isn’t magic—it’s science in action! Here’s what’s happening:
- The vinegar (acid) reacts with the eggshell (calcium carbonate). That fizzing and bubbling? That’s a chemical reaction that dissolves the shell, leaving behind just the soft, rubbery membrane.
- The highlighter ink soaks into the egg through osmosis. This fancy term means liquid is moving through the egg’s membrane, bringing that glow-in-the-dark effect with it! Osmosis is the movement of a liquid, like water, across a membrane. Membranes like to be balanced on both sides. The vinegar solution is mostly water with only a little vinegar and ink in it, while inside the membrane is protein with a little water. So, the glowing water molecules travel from the vinegar into the egg to try to balance the concentrations. The egg expands and glows!
- The egg bounces because the membrane is flexible. With no hard shell, the egg can stretch and bounce like a squishy science ball!
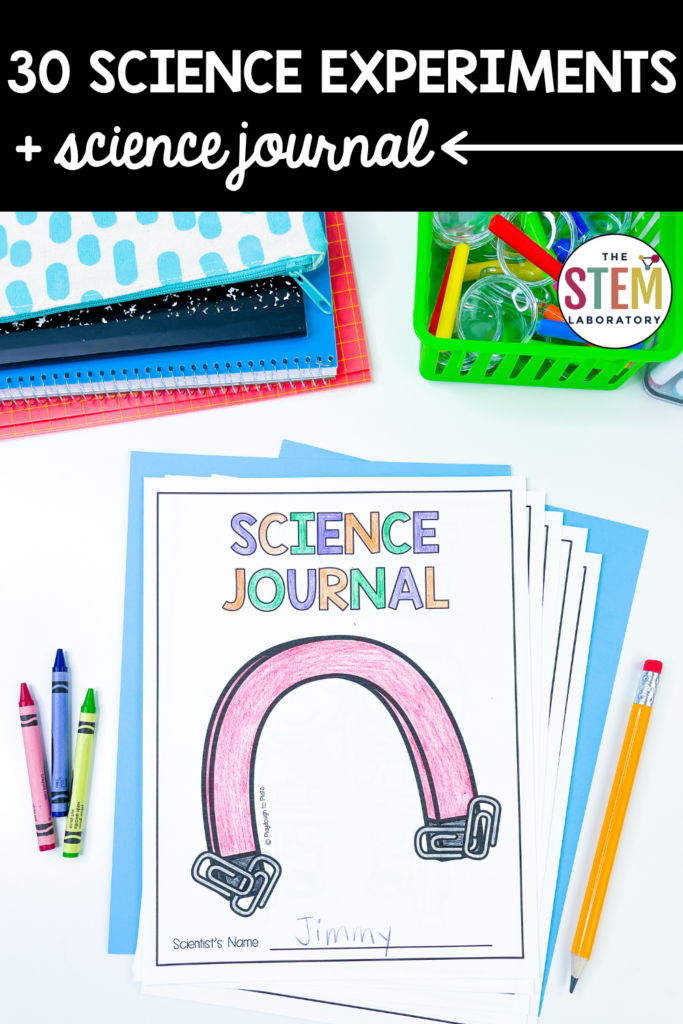
Want More Science Fun? Grab This Experiment Pack!
If your students loved this glowing bouncy egg experiment, imagine how excited they’d be for 30 more hands-on science activities! Our Science Experiment Pack makes it easy. It’s the ultimate way to bring WOW-worthy science experiments into your classroom.
✔ 30 step-by-step experiments that are easy to set up
✔ No-prep printables that save you time
✔ A science journal for kids to record their discoveries
Science should be fun, exciting, and hands-on. Make learning unforgettable with this amazing collection of classroom-friendly experiments!