Sprout House
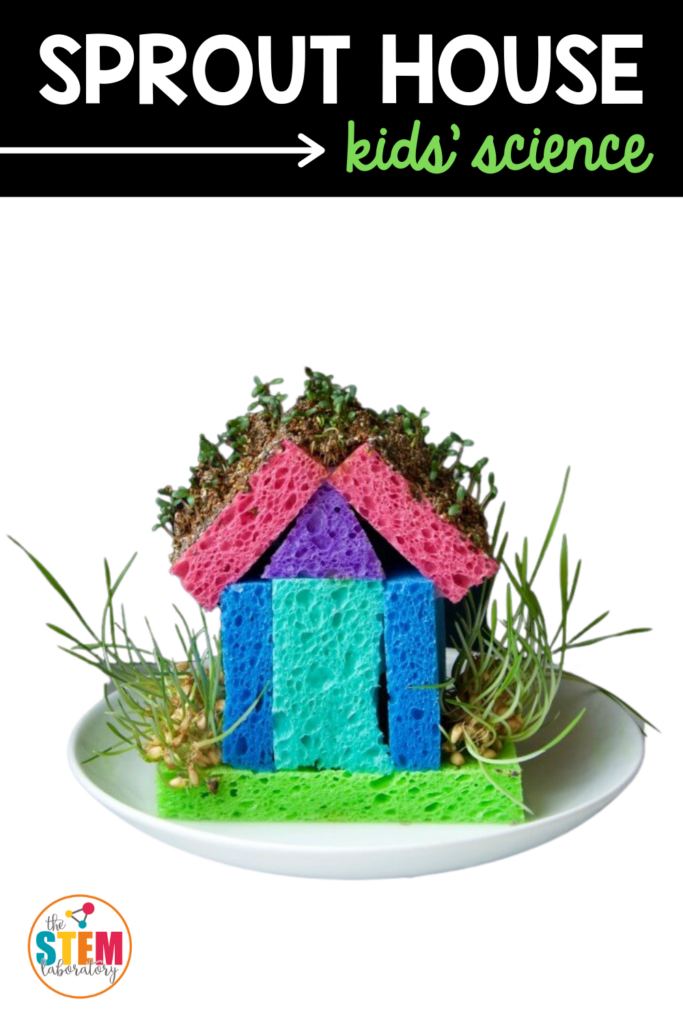
Spring is just around the corner and my kiddos are itching to start planting seeds. Our little DIY sprout house made from sponges had my kids giddy with excitement. Combining engineering and science into one awesome project was a motivating way to learn about germination. It definitely brought a whole new meaning to the word “greenhouse”! (Get it?!)
Want more awesome science? Check out our 30 Science Experiments in our shop!
Getting Ready
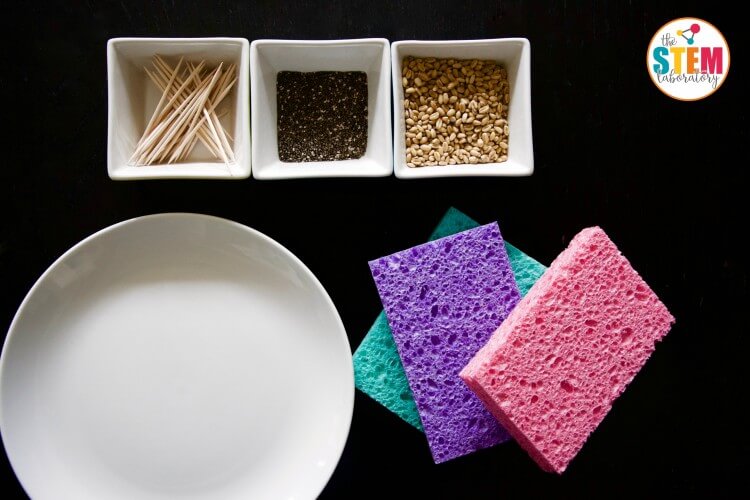
To make the spout house, we first gathered our supplies. For each house, we needed:
- 4 plain sponges
- Scissors
- Toothpicks
- Hot glue gun {optional but makes construction quick}
- Plate
- Seeds {wheat berries, chia, or alfalfa seeds sprout quickly}
Building the Sprout House
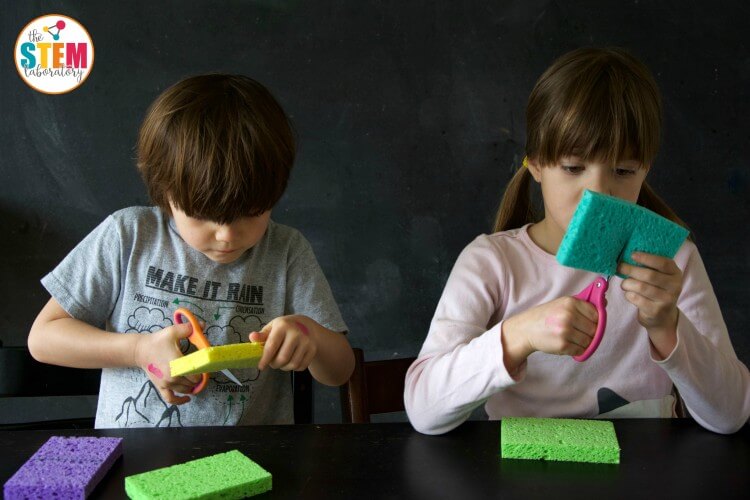
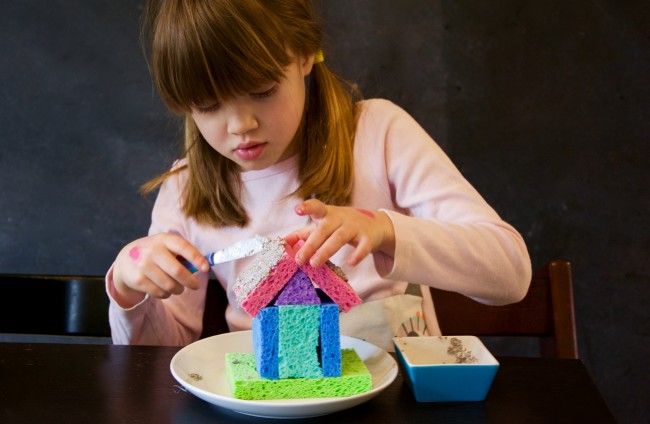
First, my kiddos selected their base. Both chose the green sponge to look like grass. Then, they cut a second sponge in half to form 2 walls.
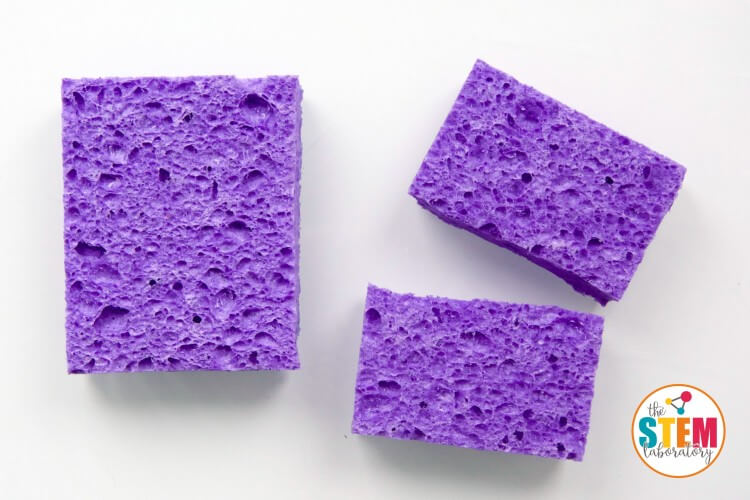
To make the other walls, they cut the third sponge in half. Then, they cut one of those halves in half again.
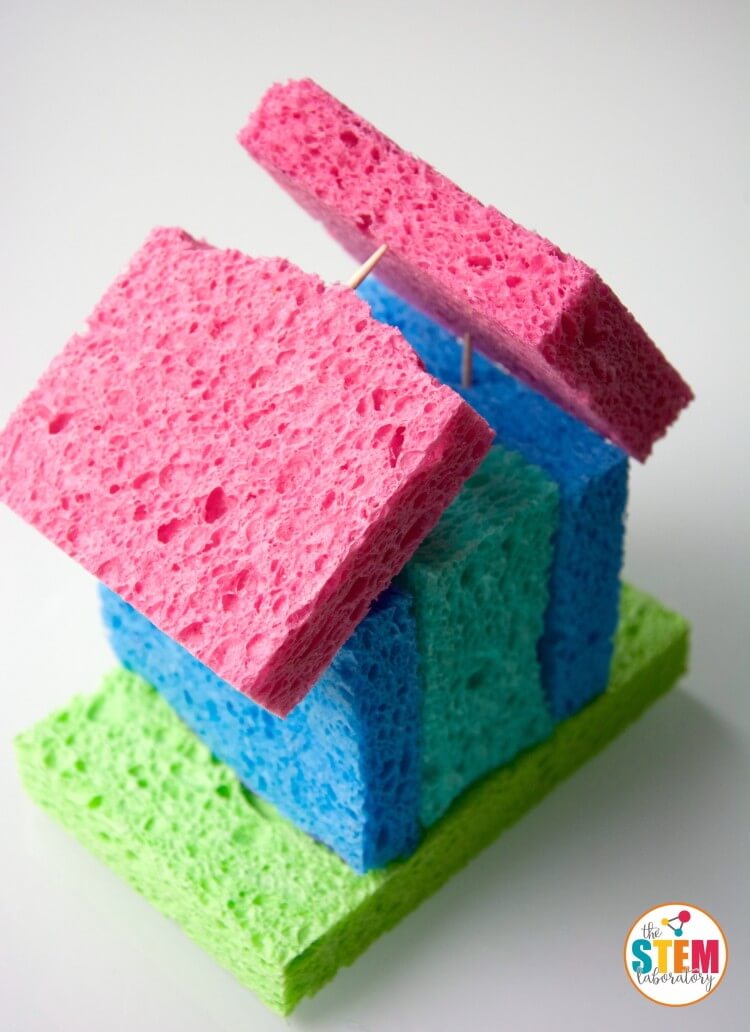
For the roof, they cut the last sponge in half. They were ready to put them all together!
To hold up the walls, we inserted two toothpicks in the bottom and sides of each wall with about 1/2 inch of toothpick sticking out.
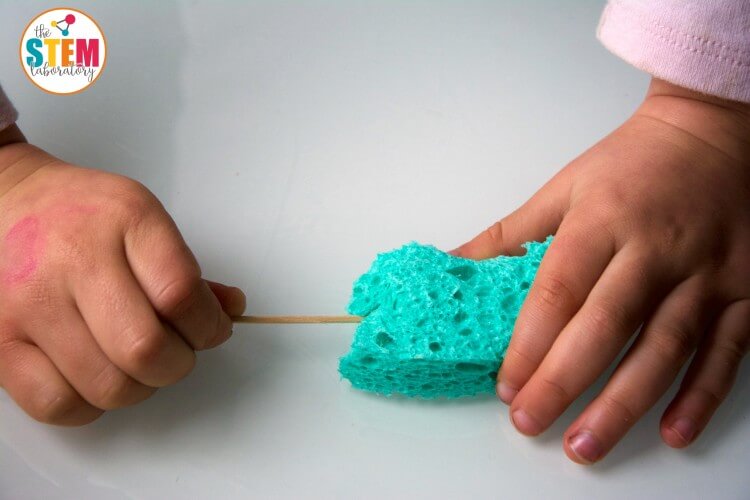
Both kid needed a little help pushing the toothpicks in – especially when connecting two walls. If your walls still seem a little wobbly, you can use a little hot glue to hold them together.
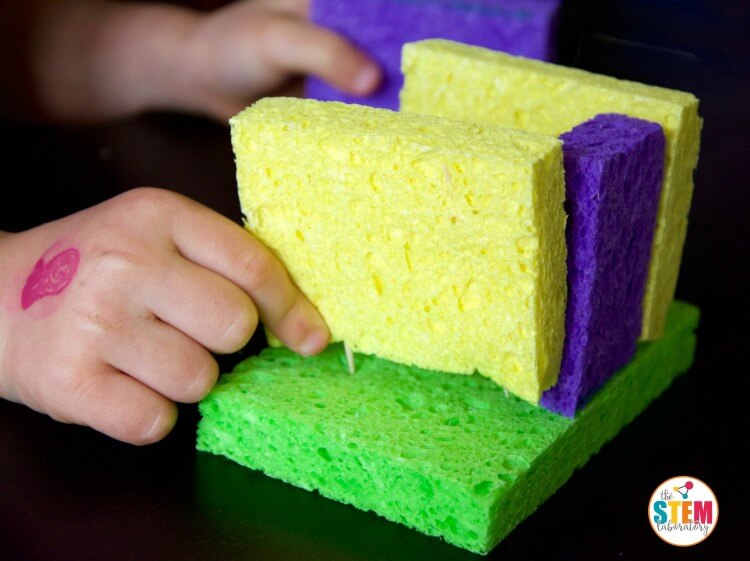
For the roof, we used toothpicks as connectors again, but it was pretty tricky to secure the roof to the walls and each other. And so, I ended up just using the hot glue gun to hold on the roof.
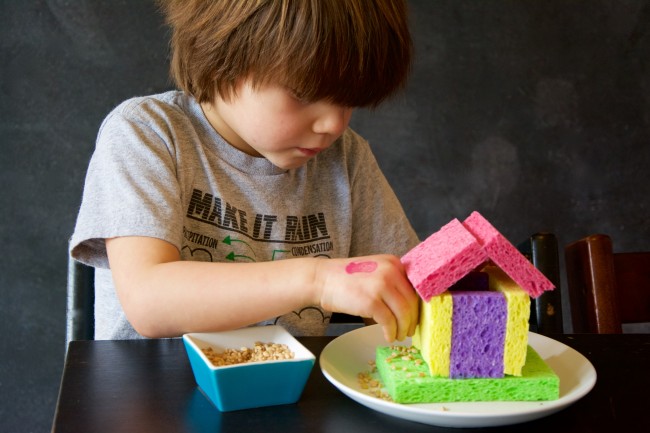
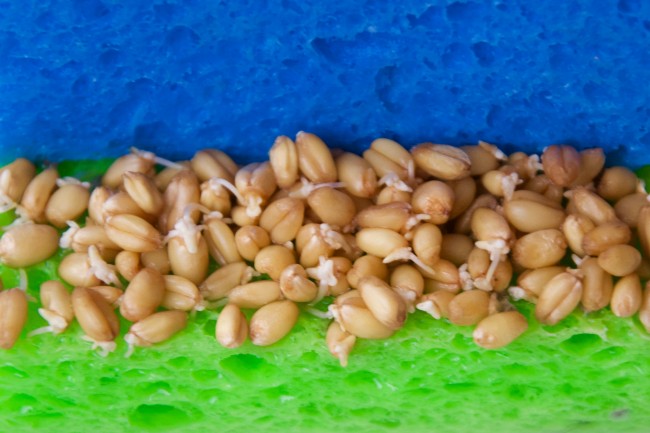
Once the house was built, it was time to cover it with seeds. Both kids wanted wheat berries for the bottom because it grows wheat grass.
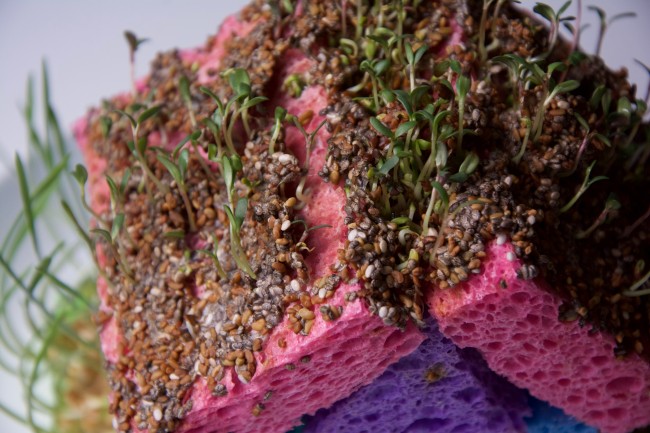
My 5 year-old chose to mix chia and alfalfa seeds for the roof. I put about a tablespoon of seeds in a little dish and mixed in a little water to make a seed slurry. The chia seeds absorb a lot of water and become kind of gummy. Therefore, it actually helps make spreading the seeds on the roof a whole lot easier.
Once the seeds were “planted” all there was left to do was water and wait. We poured water in the plate and allowed the sponge to absorb the water to moisten the wheat berries.
For the roof, both kids carefully sprayed the seeds several times a day with a misting bottle. It’s still a bit chilly here, so our heat is cranked up, making it very easy for the tiny chia seeds to dry out. So, twice a day, I soaked all the sponges with water just to be safe.
Within two days the wheat berries began to sprout tiny roots.
And a week later, our sprout houses looked due for a mow.
Both kiddos loved checking on their house throughout the day and watching to see when and how quickly the different seeds grew. My 5 year-old would search to find all the little roots that would travel over the bumpy sponge to find a little nook to get a hold in. You can tell the seeds in the crack of the roof where moisture pooled grew the best.
No matter how many times we sprout seeds, it’s always a little magical, and this time was no exception.
The Science of Seeds
Seeds, even the tiniest ones, contain the food and all the instructions necessary to sprout a new plant. All they need are the right conditions: the right temperature, consistent moisture and a good location.
We saw that the seeds on the outer edges of the sponge tended to dry out more quickly and didn’t grow as well.
At first, the plant depends on the energy stored within the seed to grow. As the seed soaks up water, its food stored inside begins to be converted into energy in the form of enzymes. The enzymes trigger the seed to send out roots and germinate.
First the roots break out of the hard protective outer layer of the seed called the seed coat. They grow downwards and begin to anchor the plant and absorb water and nutrients.
Next, the seed begins to grow a stem, a process called germination. Once germination takes place, the plant grows, eventually making its own food from nutrients it takes in from the soil and through photosynthesis.
More Science for Kids
Keep the learning going by grabbing our 30 Science Experiments – complete with a no prep journal to record results!

14 Comments